making my very own advent calendar
Oh my.
I cannot even tell you how long I have wanted…yearned for…a homemade advent calendar. I have been searching for one that speaks to my soul for years. I have fallen in love with a few, but haven’t had the skills to make them. It seems like I spend every fall searching for the one I will not only love, but will also be able to make.
Ladies and gentleman (do we have any gentlemen here?), I have found it!
Okay, I didn’t actually find it. Jennifer and Kat found it on their weekend sewing retreat (How fun is that? Two best friends spending a weekend in a cabin all by themselves sewing up a storm, eating yummy food, and shopping at fabric stores!) and came back and told me all about it. Then, Kat told me exactly what to do, and so far, so good. We are halfway done and it is looking adorable!
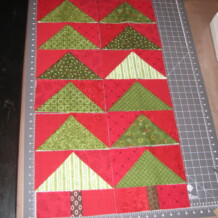
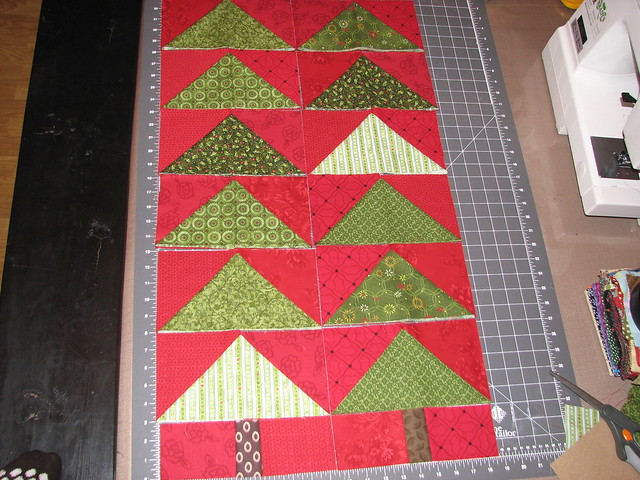
Here is the top all laid out and ready to sew…except, I will be rearranging them still. The red and black fabric with the dots need to be spread out from each other. The trees and trunk are already sewn on to the red background, but now each piece needs to be sewn together. The trees are not sewn down on the angled sides, they are pockets that you use to put whatever stuff you want your advent calendar to hold. Ours will hold our Jesus pictures. We will put them in backwards and then each night during our Christmas devotional we will turn the picture for that day over. Make sense?
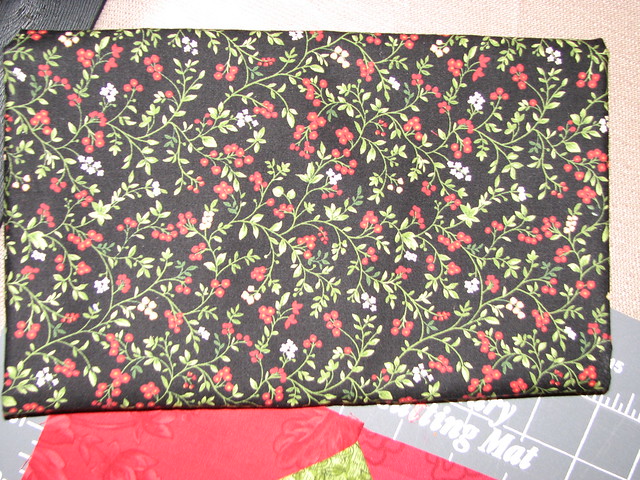
This is the back and binding fabric. I am swooning over it…and if I wasn’t sitting here with bedhead and in my jammies, I would show you my swooniness (and no, that isn’t actually a word, but I kind of like it).
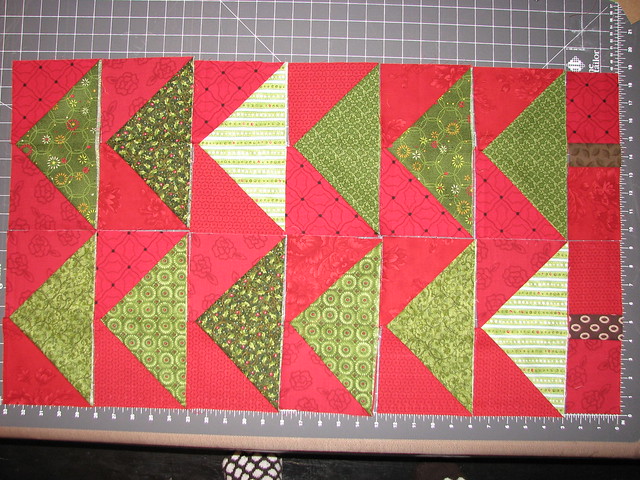
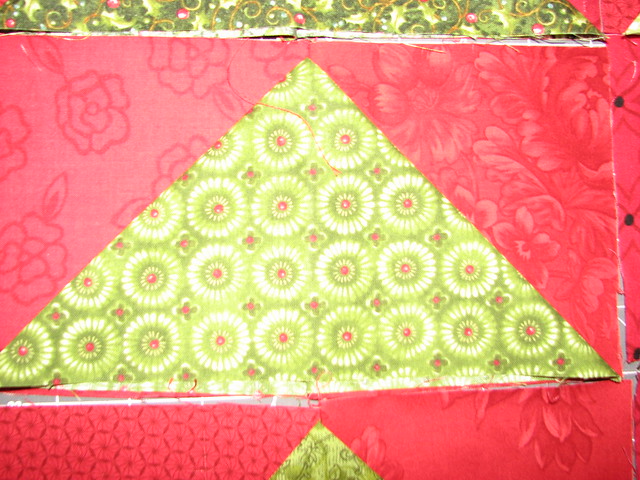
A close-up of a tree so you can see what I mean about the pockets.
I keep thinking I will write up a step-by-step tutorial, but I can’t promise anything…and my non-technical instructions might not make sense to anyone anyway. But, for now…if you don’t know how to make a one-seam flying goose, which is what I did to make my trees, watch this YouTube instructional video to find out how.
If you can’t wait for the tutorial and you think you can figure it out on your own, here are my dimensions for the fabric pieces.
Cut green pieces 9 1/2″ x 5″. Cut however many days you want to do, divided by two since each green piece will make two pockets for two days. I cut 12, so I will have a 24 day calendar, December 1 – Christmas Eve. I used fat quarters and you could get by with 2 fat quarters to get all 12 of your pieces, but I wanted mine to have a lot of variety so I used 6 different fat quarters and have a lot left over to make two more calendars as gifts.
Cut red pieces 5″ square. For my 24 day calendar, I need 24 red pieces. Again, I wanted variety, so I used 4 different fabrics. You could get by with 2 fat quarters.
Cut 4 more red pieces 3″ x 4 1/4″ for the pieces by the trunk.
Cut 2 brown pieces 2″ x 3″.
Then make your sandwiches as outlined in that awesome YouTube video and sew your trees together, press them open and lay them out the way you want them.
That is as far as I have gotten so far, but when my sewing guru, Miss Kat, comes back to teach me how to do the back, I will share the rest with you.
 I'm Tracy, a mama with big dreams, crazy ideas, loads of laughter, an insatiable desire to learn, and enormous piles of laundry.


Oh my good heck! So adorable!!!! [Fix the comment box, please]
She’s waiting on me, but I’ll get to it when we’re home (out of town for Thanksgiving).
You poor dear that can’t read your words…just type them with courage and if they are messed up, I will fix them. Jess will be fixing them soon and then you will be able to see them easy peasy! They won’t be italicized or invisible…just hold on for a few more days.
Can do. Ten-four!
So cute!
[Waiting to see if you actually fix it.]
NOT fixed! It should be ten-four!
You are cracking me up! We will be fixing it soon!